實作 Google 第三方登入(Vue / Express)

目錄

前言 #
最近公司需要串接第三方登入,因為第一次做,踩了不少坑,也發現 Google 又改版了,爬到的許多文都已經不堪用的,於是來分享紀錄一下串接的流程。
基本上,如果你是用 Google Sign-in JavaScript library 串接的話,Google 已經棄用(deprecated)了,並且將在 2023/03/31 完全捨棄,也就是不讓人下載跟使用,所以之前按照 這個流程 實作的要趕快重構啦!
這篇文章會用 Vue3 和 Express 來帶大家來手把手實作簡易的 Google 第三方登入!
(除了使用新版的 Sign In With Google button ,也會有新的 Google One Tap 功能)
因為我只有使用 Google 原生的 Library,而沒有使用別人包過的,所以如果是 React 的話語法稍微改一下就也可以用囉!
現在 Google 登入越來越好串,建議不要用別人包裝過的 library 來減少耦合度,因為敝司最近就是因為之前用的 library 沒在維護了才重新串了一遍。
Overview #
串接的流程會分成四個步驟:
- 在 Google Cloud 設定 OAuth Consent Screen 和 Credentials
- 前端:初始化 & 顯示 Google Button
- 前端:使用者按下同意後,會 POST Google Credential 給後端,並拿著回傳過來的 Authorization Token 後就可以順利登入並取得 User Data 啦!
- 後端:在 POST 的 Route 接到 Google Credential 後,用 Google Auth Library 驗證,並得到 Google User Data,把這些 User Data 存到 DB 或回傳對應的 Authorization Token 跟 User Data 給前端。
相信看完這個步驟,還是會有些疑惑,以下就來手把手實作囉!
一、Google Cloud 設定 #
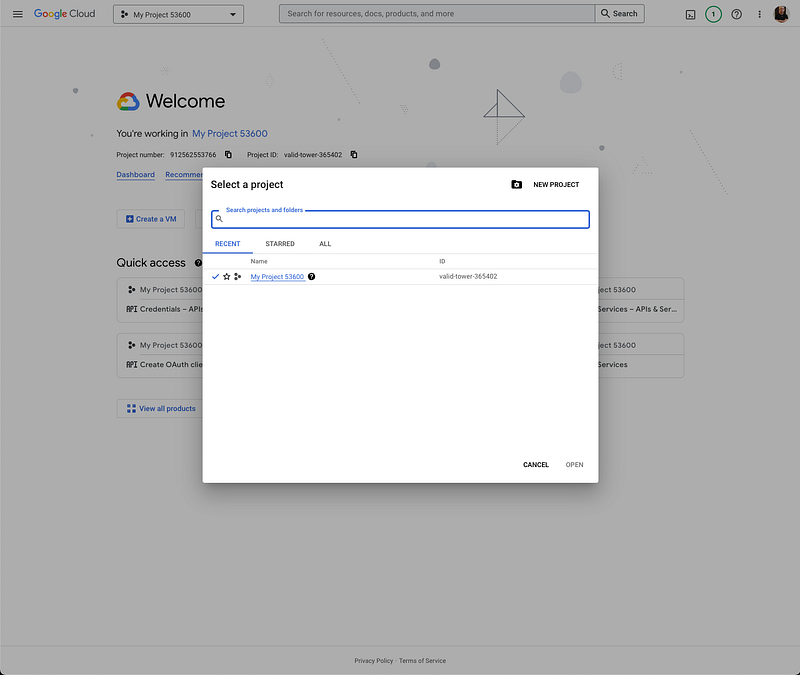
- 在 Google Cloud 選擇或新增一個你要使用 Google Login 專案 (img)
- 接著進去 OAuth 同意畫面( OAuth Consent Screen )的地方
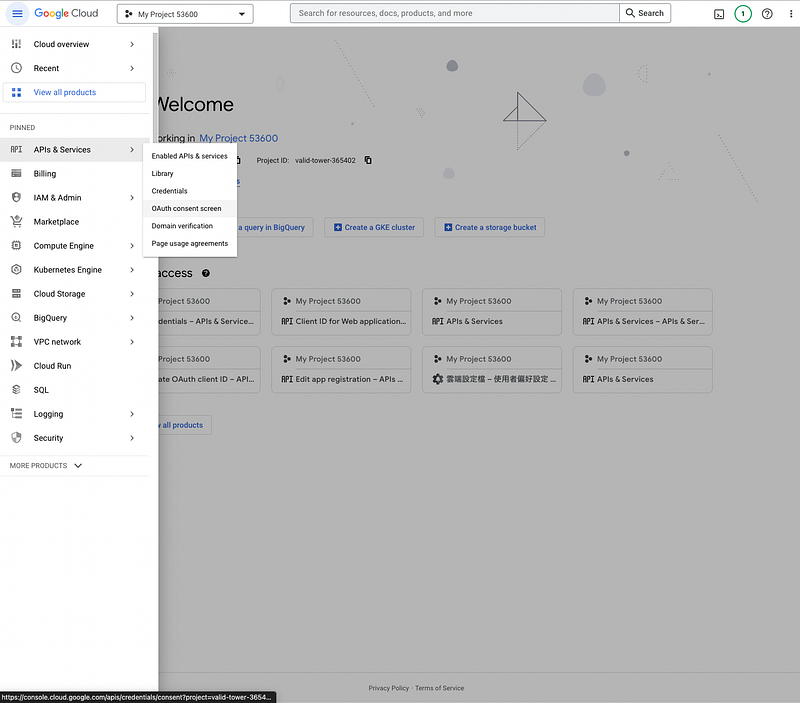
- 註冊一個 App,照著步驟填寫欄位就好!
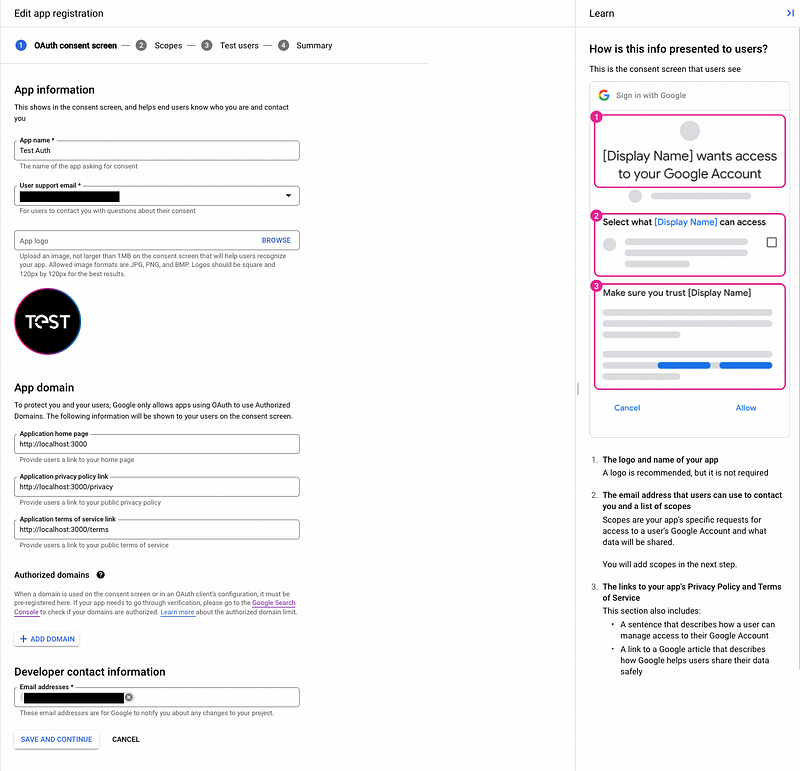
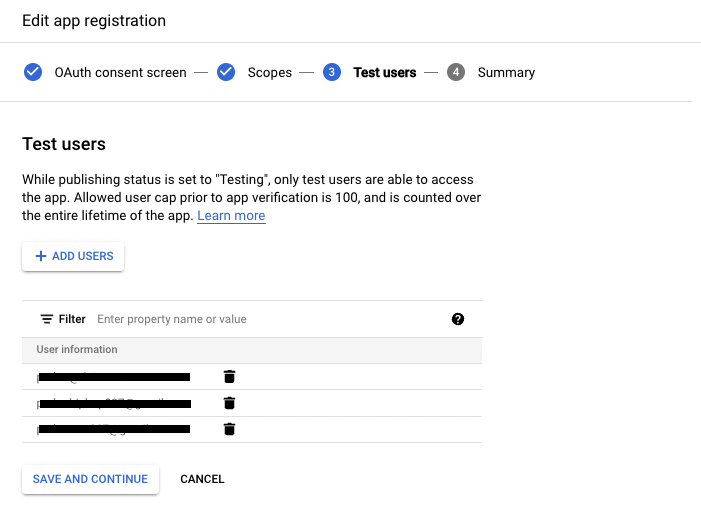
Scopes 是你允許 App 來存取已授權使用者的哪些資料。 基本的就是像圖上的 auth/userInfo.email 和 auth/userInfo.profile (img)

Test User 就是在測試時,你允許登入的帳號們。
- 建立完 OAuth Consent Screen 的 APP 之後,就要來設定 憑證(Credential)
點左側的 憑證 orCredential 之後,再點擊上面的 CREATE CREDENTIALS
- 設定 Authorized JavaScript origins 和 Authorized redirect URIs
Authorized JavaScript origins:是指前端的網域 Authorized redirect URIs:是指使用者按下同意後,會向後端的哪個 URI 發送 POST Request 來接 Google Credential。
以待會的 Demo 來說,前端會是在 http://localhost:5173 ,後端則是用 http://localhost:3000/verify-token 來接收 POST Request 需要注意的是在網域這邊,本地測試時需要特別加上 http://localhost 然後 Google 不允許用 IP 當作來源,像是 127.0.0.1 是不行的。
(然後正式上線後,記得要改成正式的網域跟 URI 噢)

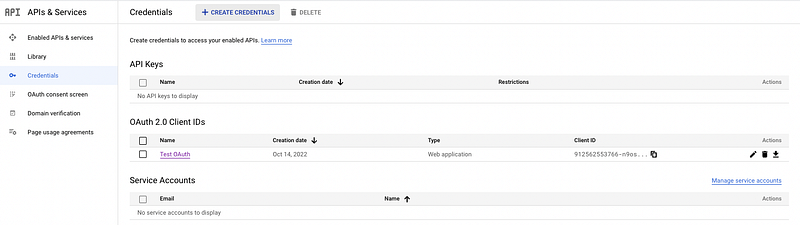
- 建立完成後就可以在列表上看到你的 Client ID,待會會用到它!
(Client 的意思是,我們對 Google 來說是 Client,Google 是我們要跟他們拿憑證跟使用者資料的 Server)

恭喜,我們成功地完成了 Google Cloud 的設定。
取得了 Client ID 和 授權我們的前端 Origin 跟後端 URI 後,接下來就分別來實作前後端啦!
二、前端:初始化 & 顯示 Google Button / On Tap Login #
基本上是照著這流程: Display the Sign in with Google Button,但以下也會走一遍給大家看!
在入口 index.html 載入 google library script
// index.html

<body>
  <script src=”https://accounts.google.com/gsi/client" async defer></script>
  <div id="app" />
</body>
這時候 window 會被註冊一個 google 的物件,後續的操作都會使用到這個物件!
讓我們用瀏覽器直接 log window.google 看看底下有哪些東西

-
初始化設定直接調用
window.google.accounts.id.initialize- Client ID:直接從 Credentials 上複製就好
- callback:就是當使用者在 Google 的登入 Popup 按下同意後會觸發的 Callback Function
- Cancel On Tap Outside:點擊 Tap 外的區塊能不能關掉 Tap Login Model
- Context:
signin | signout | login
-
渲染 Button 會使用
window.google.accounts.id.renderButton -
顯示 On Tap Login 則是靠呼叫
window.google.accounts.id.prompt()
onMounted(() => {
  window.onload = () => {
    if (CLIENT_ID) {
      window.google.accounts.id.initialize({
        client_id: CLIENT_ID, // required
        callback: onLogin, // invoke while user login in the popup
        cancel_on_tap_outside: true, // optional
        context: 'signin', // optional
      });

      window.google.accounts.id.renderButton(
        document.getElementById('googleButton'),
        { theme: 'outline', size: 'large' } // customization attributes
      );

      window.google.accounts.id.prompt(); // show one-tap popup
    } else {
      console.error("client_id doesn't exist!");
    }
  };
});
三、前端:使用者同意後取得 Token 並登入 #
這步驟就是在實作上面 initialize 時會丟進去的 callbcak。
而這也是使用者在 Google 的登入畫面上登入後會執行的 function。
因此我們會在這邊實作我們自己的登入邏輯,像這樣:
const onLogin = (res) => {
  const axiosOptions = {
    headers: { 'Access-Control-Allow-Origin': CLIENT_URL },
  };
  axios
    .post(`${API_URL}/verify-token`, res, axiosOptions)
    .then((res) => {
      console.log('res', res);
      userData.value = res.data;
    })
    .catch((error) => {
      console.log('error', error);
    });
};
callback 會接到來自 Google 的 response( onLogin 的 res),response 裡又會包含這些資料,我們會拿其中的 credential 打去後端來做驗證。
{
  "clientId": "123456789.apps.googleusercontent.com",
  "credential": "",
  "select_by": "btn" // or 'user'
}
前端的處理到此結束啦!
簡單複習一下,我們引入 gsi client,在 window 底下建立了 google 物件,接著用 google 物件提供的 initialize 、renderButton 來初始化跟渲染 Google Button,而我們自己的登入邏輯 onLogin function 則是在 initialize 時傳進 callback 來讓使用者登入後調用。
四、後端:接收、驗證,回傳 User Data ( and Authorization Token ) #
在上面我們看到了 onLogin 是 POST 到 /verify-token,接著我們就要在這個 Route 去驗證並取得 Google User Data。
基本上就是照著 Google 的 範例 去做,然後記得處理 CORS 就好!
自此,第三方串接就完成了!
接下來後端讓前端知道已登入成功這件事即可。
而在這邊就單純把 User Data 回傳給前端。
在公司的專案裡則採用跟一般註冊或登入一樣去把資料存到 DB 或是取得 Authorization Token 、User Data 給前端的作法。
const cors = require('cors');
app.use(cors());
const CLIENT_ID = 'YOUR CLIENT ID';
/** Handle the POST request from onLogin callback in frontend */
app.post('/verify-token', (req, res) => {
  // use google-auth-library to verify token
  const { OAuth2Client } = require('google-auth-library');
  const client = new OAuth2Client(CLIENT_ID);
  async function verify() {
    // get credential from google
    const token = req.body.credential;
    console.log('token from credential', token);
    const ticket = await client.verifyIdToken({
      idToken: token,
      audience: CLIENT_ID,
    });
    const payload = ticket.getPayload();
    // You can store user data in DB and return Authorization Token here.
    res.json({
      email: payload.email,
      email_verified: payload.email_verified,
      picture: payload.picture,
      name: payload.name,
    });
  }
  verify().catch(console.error);
});
Demo #
下面提供的 Repo 都跑起來後會像這樣:
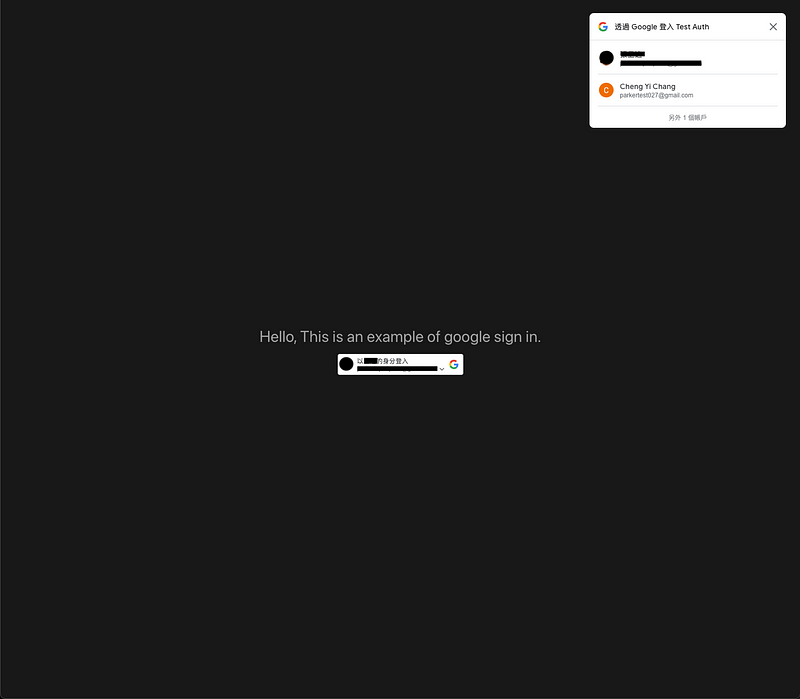
初始的登入畫面
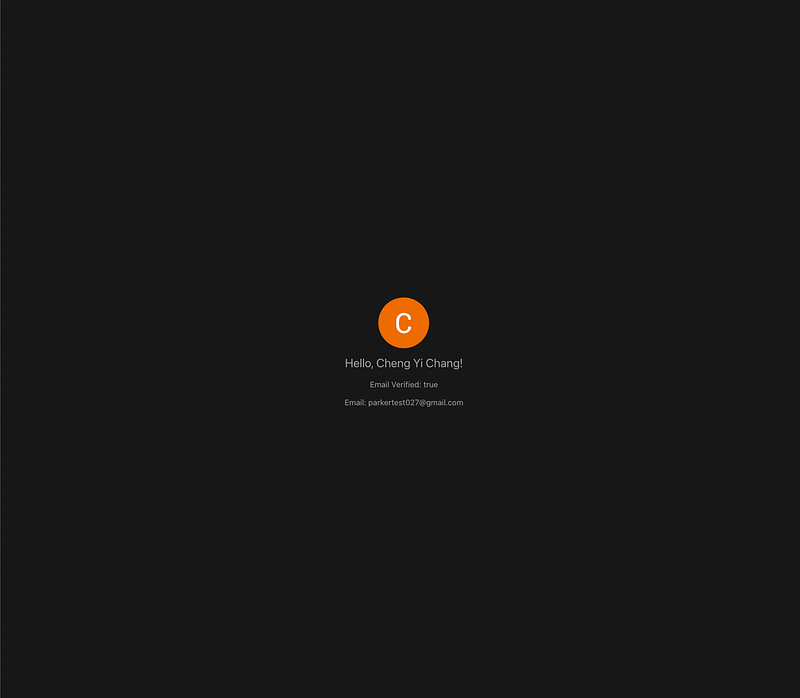
使用者登入後
Frontend: Vue Sign In With Google #
- clone 下來後 npm install + npm run dev 會跑在 port:5173,這也正是我們在 Google Cloud — Credentials 那邊設定的 Authorized JavaScript origins
- 自己開發時,記得要去改成自己的 Port ,上線後也要改成正式的網域哦!
Backend: Express Sign In With Google #
- clone 下來後 npm install + npm run start 會跑在 port:3000,這也正是我們在 Google Cloud — Credentials 那邊設定的 Authorized redirect URIs
結語 #
第三方串接讀了一堆文件,做的懵懵懂懂, 剛寫完沒幾天,要來寫文章時還是有些細節會有點忘記,但是整理成一篇文章就清楚多了!
希望這篇文章對有串接 Google 登入需求的大家有幫助啦!
我要接下來繼續串 Facebook 登入了,不得不說串接 Google 與 Facebook 和 Twitter 的比較起來,真的是友善很多很多很多呢。